Billing Account 2FA
2-Factor Authentication is an extra step added to logging into an account that helps prevent unauthorized access. If you've enabled 2-Factor Authentication, or 2FA, then you’ll be required to provide a token provided by an Authenticator application when you log into your account. The token is cryptographically generated from a private code only shared between WinterNode and the Authenticator application. The goal of this is to provide a second authentication requirement for accessing your account, in particular one that is tied to a physical device like your cell phone. As long as you don’t share the 2FA tokens, the code provided by the service to enable 2FA, and a third party doesn’t have physical access to the device that you’re using for your Authenticator application, this is a nearly foolproof method of authenticating. For redundancies sake, you can even save the original code, often shown in-tandem with a 2D QR code, in a password manager or other safe location, in case you lose your device or have multiple devices set up with an Authenticator application ready to go.
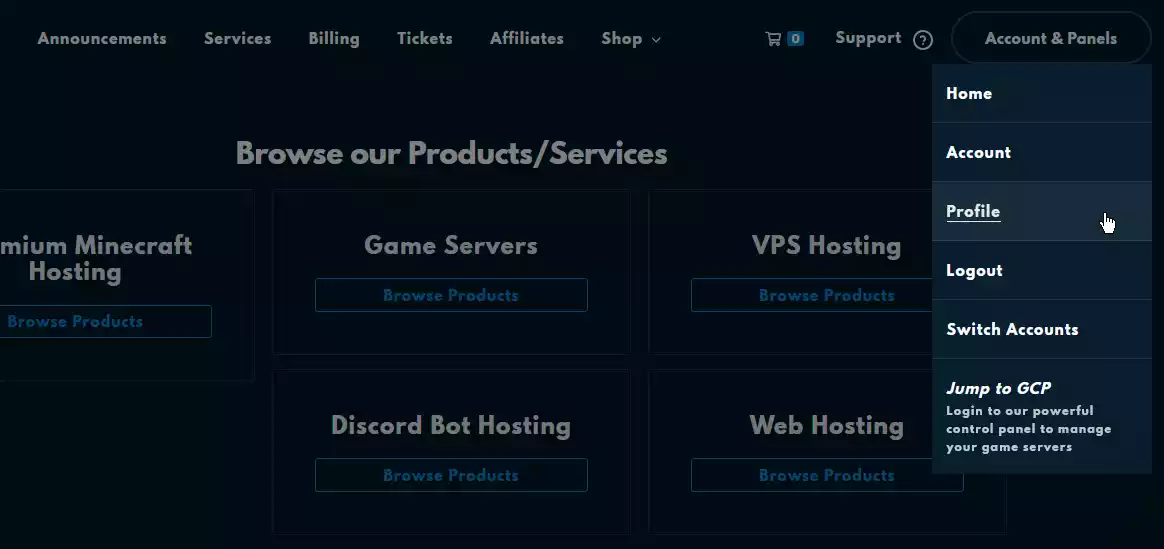
You can find the 2-FA setting in the User Greeting dropdown by clicking on the Hello <User>! greeting on the right side of the navbar, after logging into the ![]() Client Area, and then selecting
Client Area, and then selecting Security Settings, as seen in the image to the right.
 Loading...
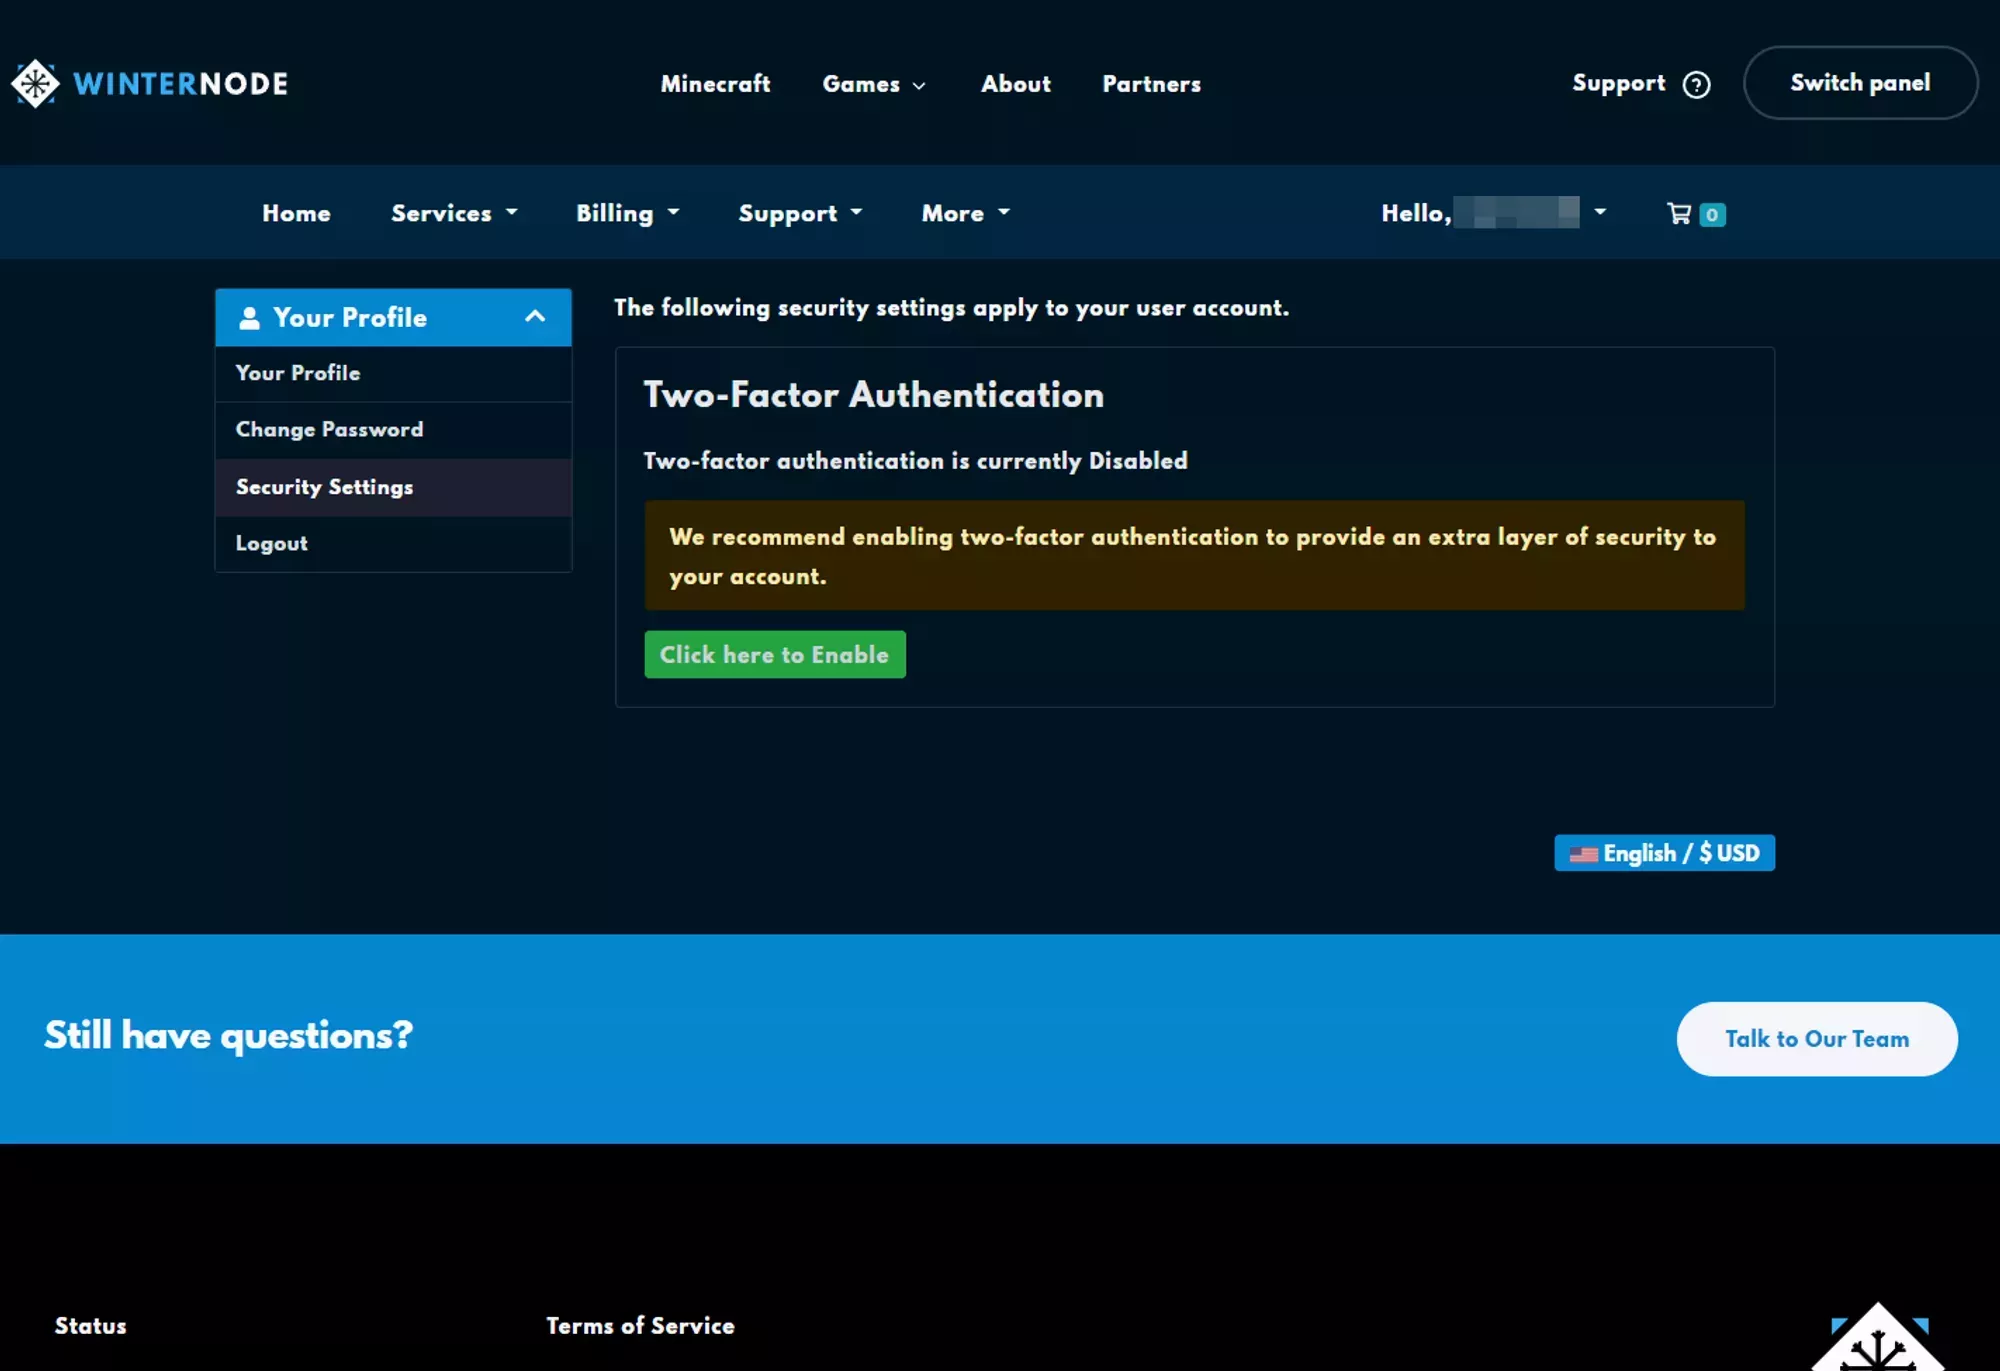
Once there, you’ll find a sidebar on the left side of the page that contains an entry titled Security Settings and on that page will be the Two-Factor Authentication section.
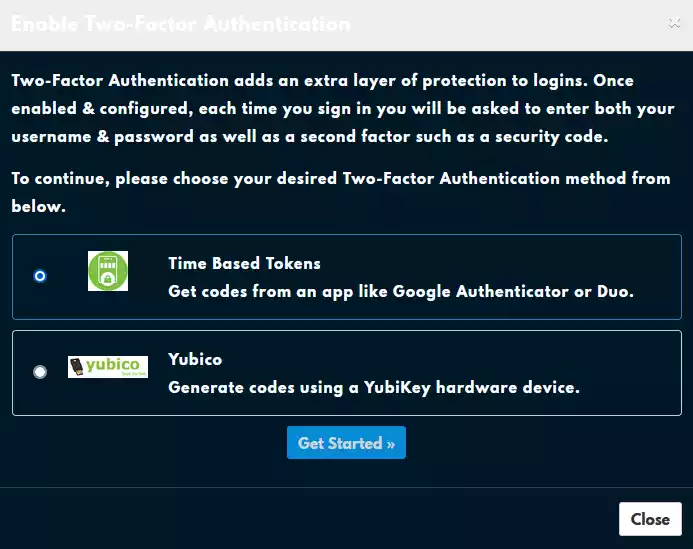
Next, click the green Click here to Enable button and you’ll get a popup matching the one shown in the image below. You'll be presented with two options, "Time Based Tokens", which is what we've covered so far, and "Yubikey, which is an entirely different kind of 2FA that requires a specialized device. We'll be continuing to use the "Time Based Tokens" option, which is selected by default, so you can click Get Started button and continue with the steps below.
 Loading...
 Loading...
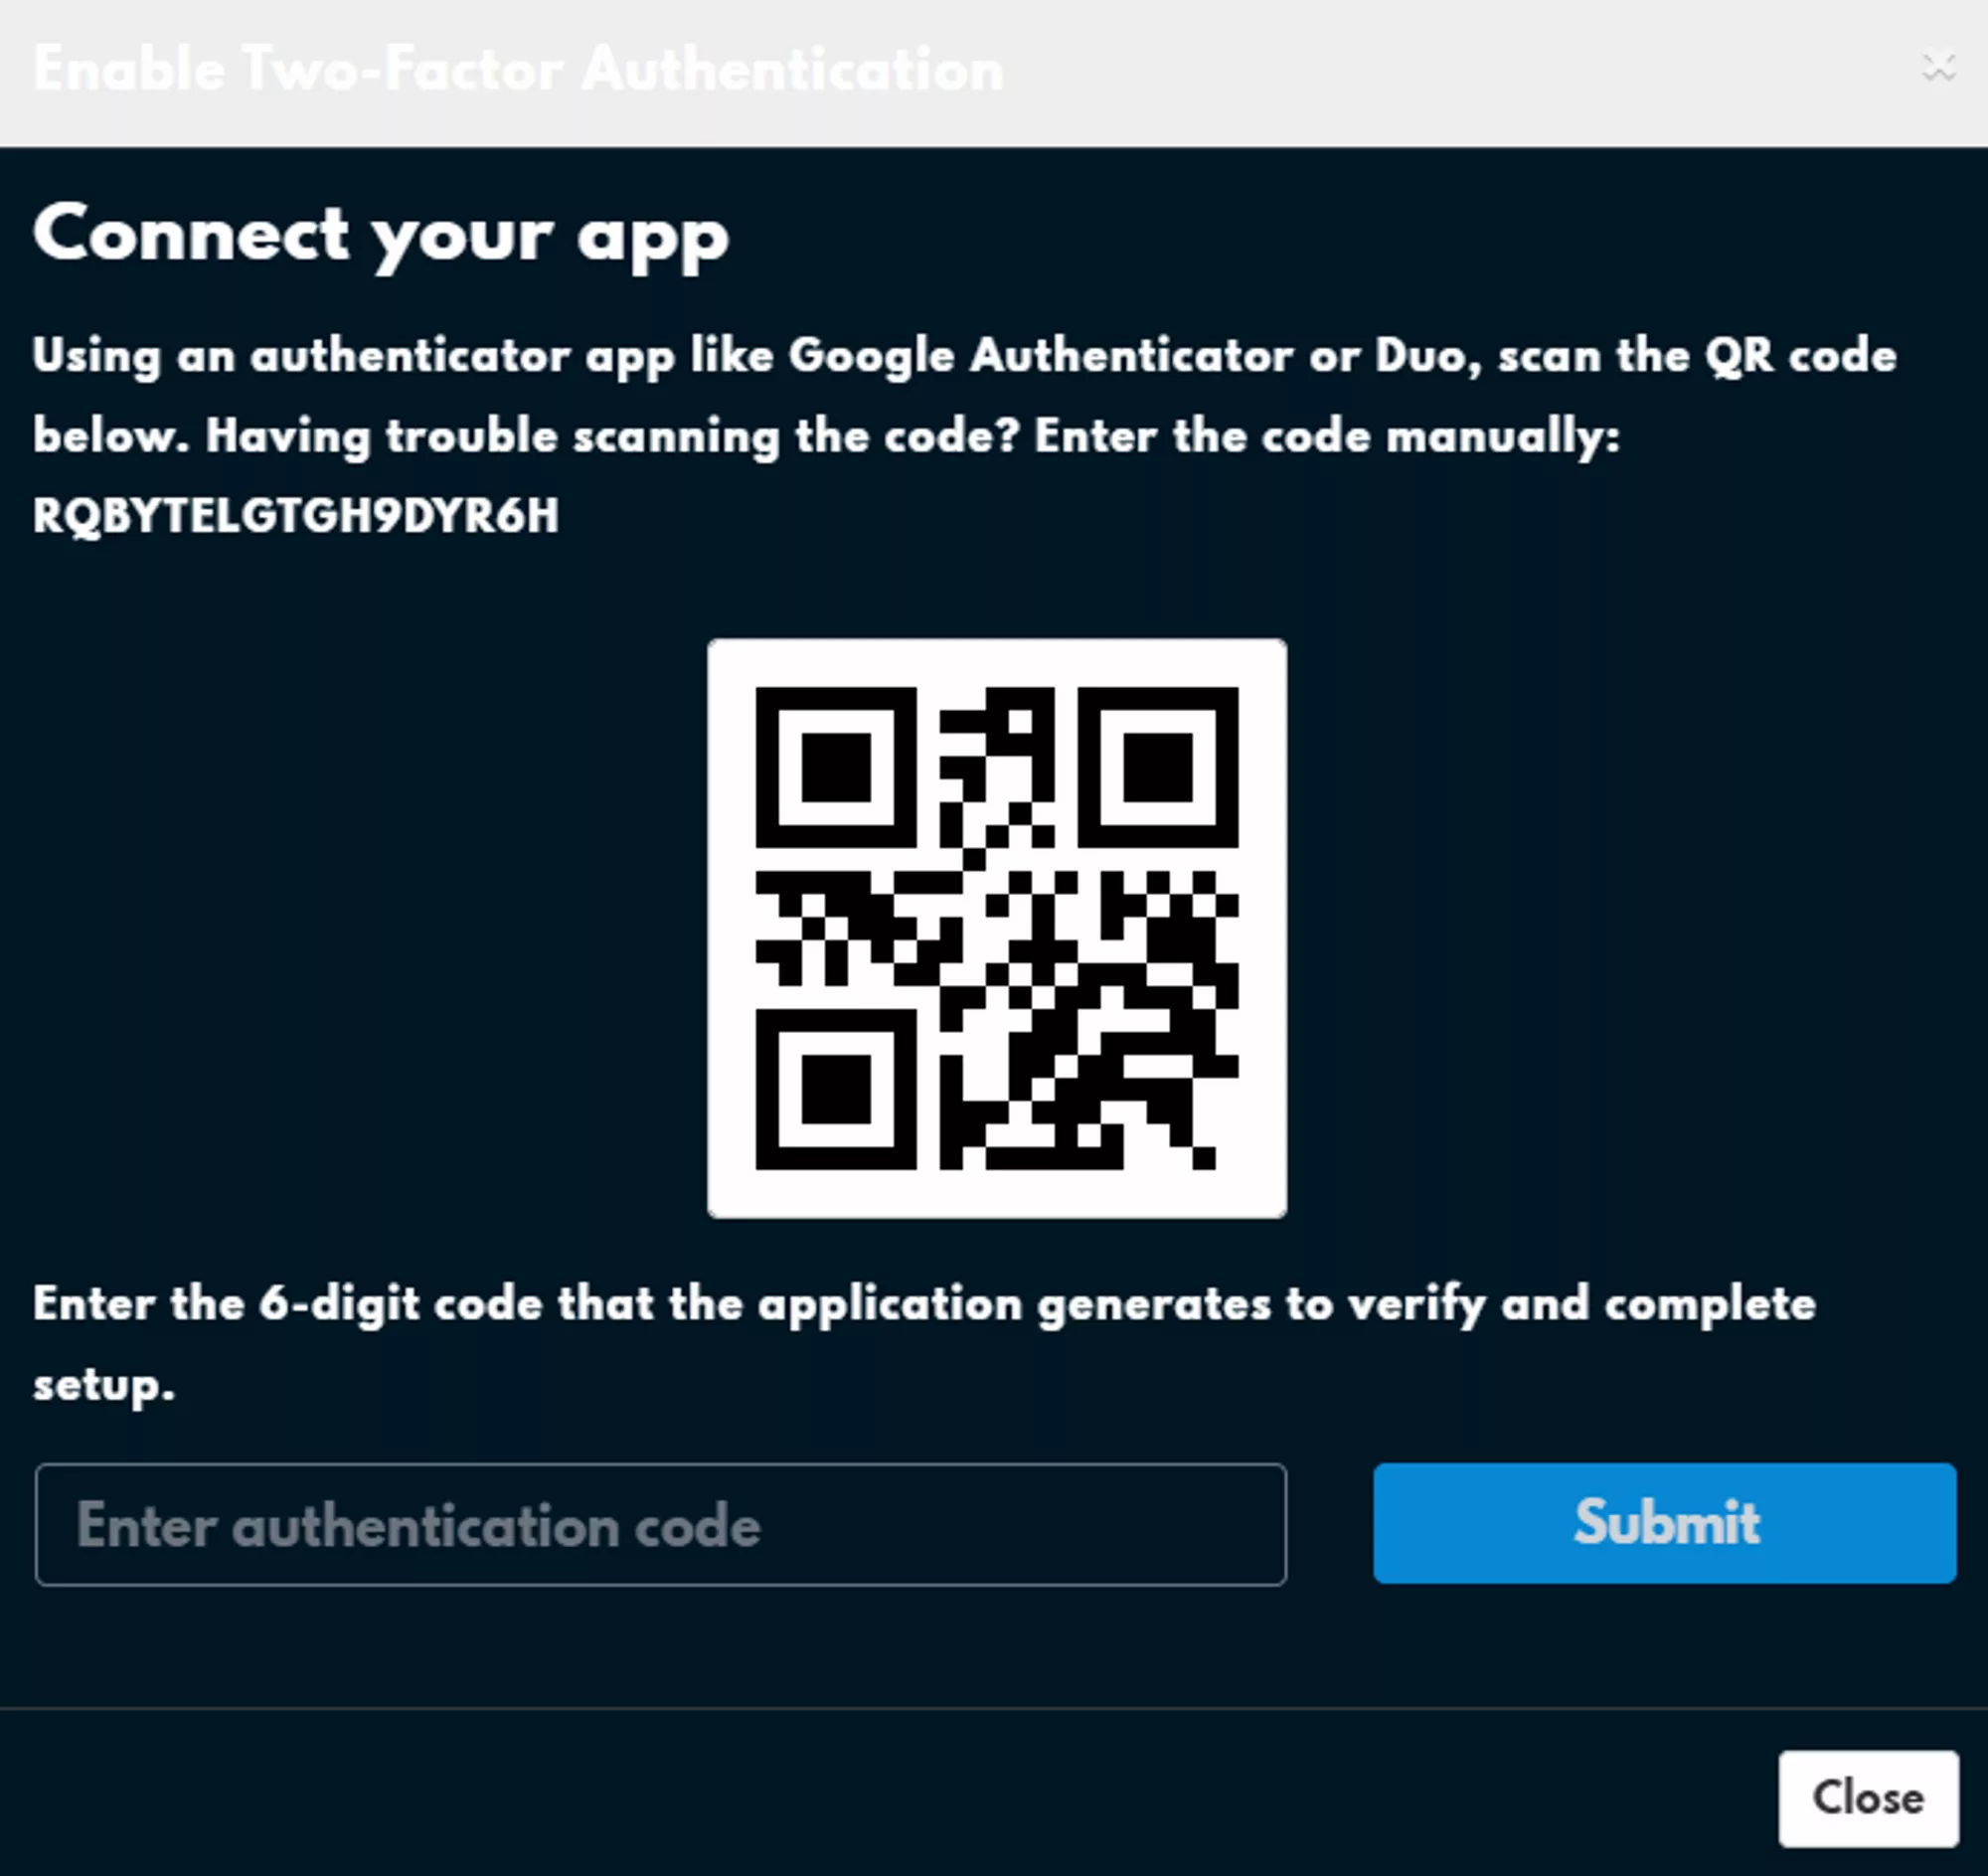
You should now see a page titled Connect your app with a QR code in the center and a long alphanumeric code above it, like the one shown in the image to the right. You can scan the QR code using an app like Google Authenticator or Authy or you can enter the code manually into either of the two apps.
Make sure to save the alphanumeric code or QR code somewhere in a secure format. Good ways are in a private password manager or encrypted flash drive!
 Loading...
There are a lot of Authenticator apps with many different features, so you might want to try a few out or look at what’s provided by your phone already. If you save the code above then you’ll have no problem switching Authenticator apps!