SquareMap
SquareMap is a 2D map plugin geared towards performance and simplicity. We’re going to cover the basic installation, usage, and troubleshooting of the plugin on a Paper, Fabric, or Sponge server.
Installation
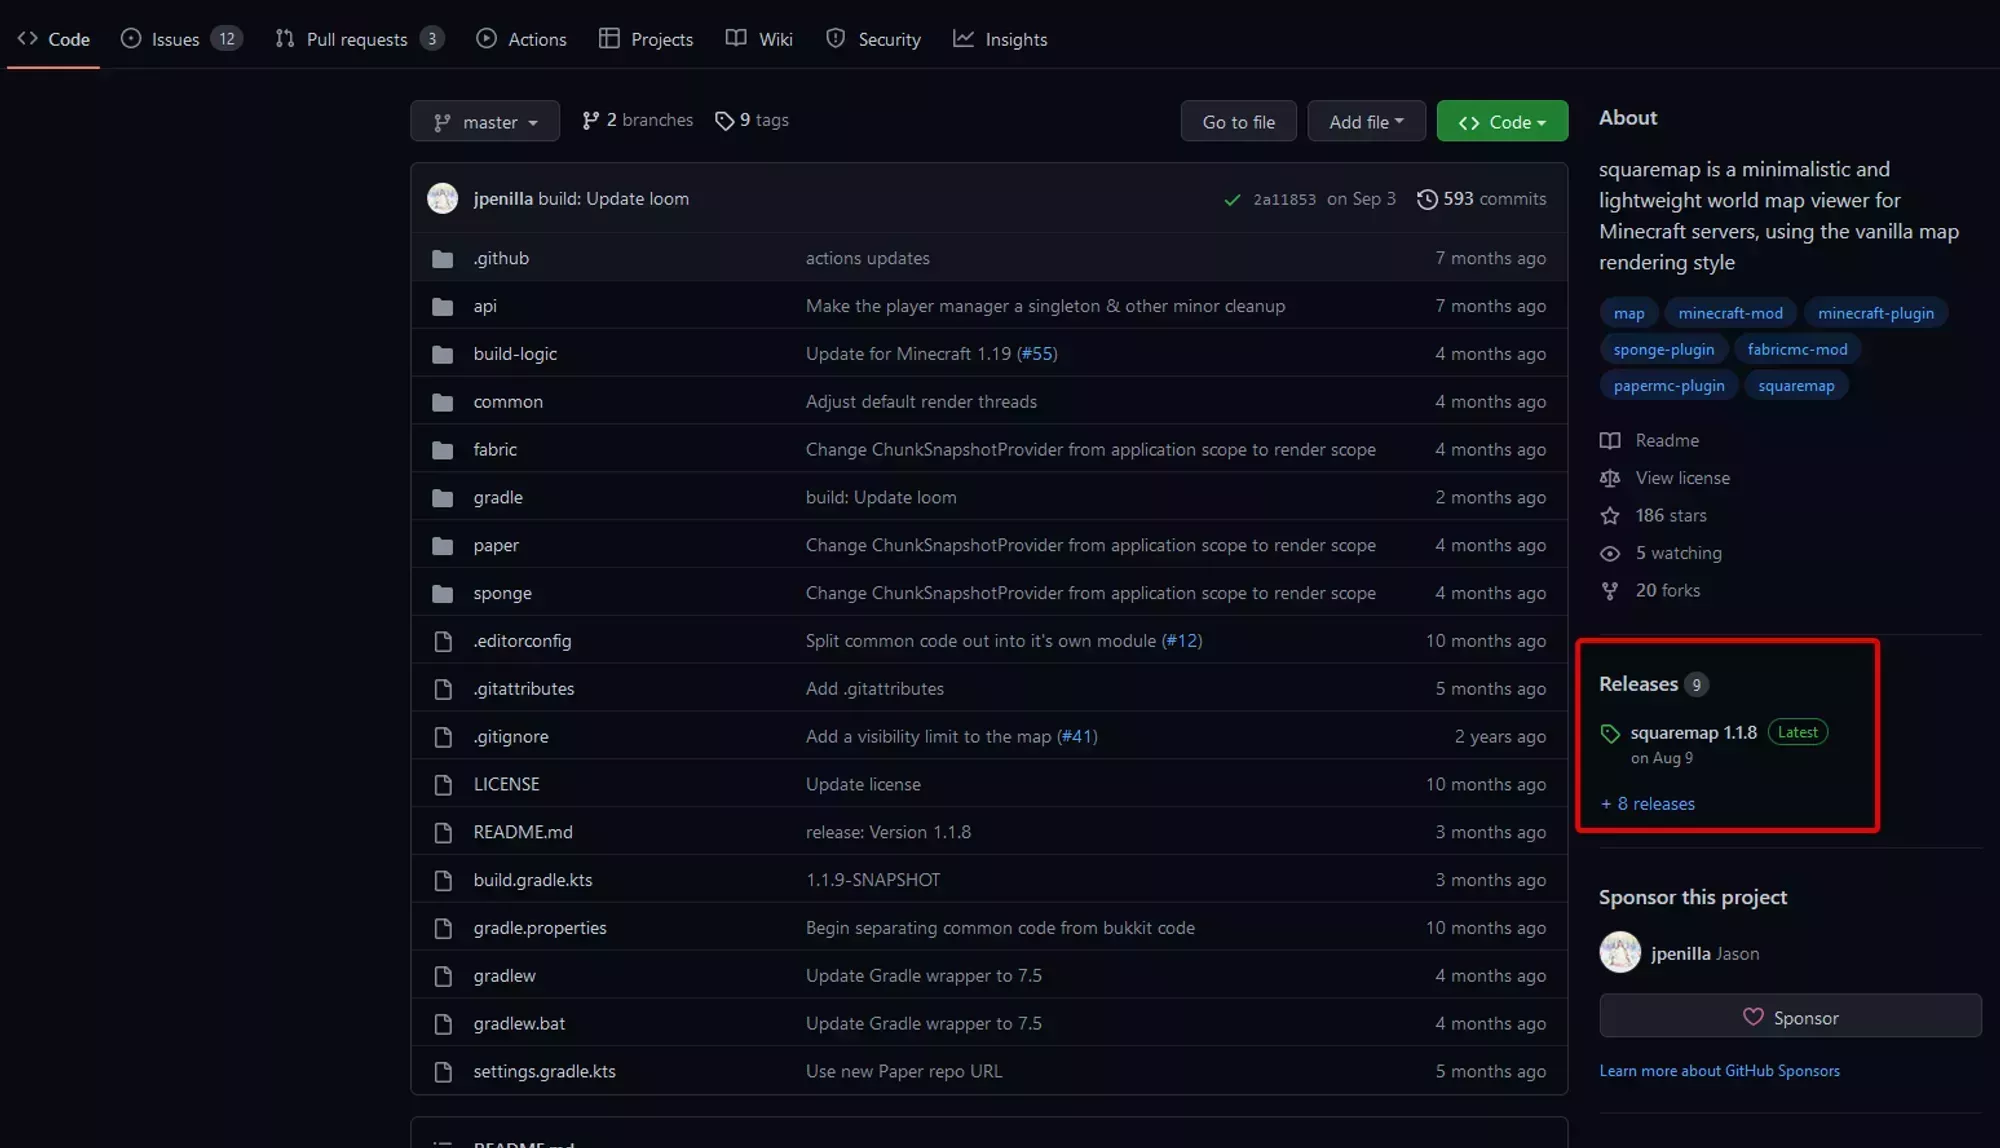
You can grab the latest releases of SquareMap from its GitHub page under the Releases section as show in the image to the right. Each release will have a separate Jar for Paper, Fabric, and Sponge that you’ll need to use for each loader respectively.
 Loading...
After you’ve downloaded the Jar file for the loader you’re using, you’ll need to upload it to your server either ![]() Using SFTP or the
Using SFTP or the ![]() File Manager. The final step for a basic installation is requesting a port as outlined on our
File Manager. The final step for a basic installation is requesting a port as outlined on our ![]() Requesting Additional Ports page and then configuring SquareMap to use the port you’ve been provided.
Requesting Additional Ports page and then configuring SquareMap to use the port you’ve been provided.
You’ll find the Configuration File for SquareMap in your loaders configuration folder such as plugins or config and then SquareMap → config.yml and the option you’ll need to change is labeled settings → internal-webserver → port, with the port option itself being on line 6 for configuration version 2.
Adding a map to the config
By default you’ll have a map for every world on your server, but if you want to change specific World Map settings like it’s order in the world list, it’s icon in the list, it’s render height, or it’s name, then it’ll need a specific entry in the config.
You can also disable all Worlds by default and enable specific Worlds that you want a map for by changing the default World Map entry labeled default to false. The config entry you’re looking for is located at world-settings → default → map → enabled.
You can add a new entry to the World Map configuration by copying config entries from the default World Map config or the Wiki’s Default Config Section. The key point that each section must be named with the world name using the minecraft: prefix. For example, an entry adding the vanilla overworld dimension would use minecraft:overworld to name the section.
After adding the entry name, you need to add either enabled: true or enabled: false as it’s first sub-entry. From there you can configure the World Map using any of the options shown in the default World Map config or on the wiki.