Chunky
Chunky only supports the following versions! If you need to pre-generate a world on any other version, reach out to our team and we'll be more than happy you find alternatives that work for you!
Supported Versions
Spigot | 1.13   - (Latest*)
Fabric | 1.16.4 - (Latest*)
Forge  | 1.16.5 - (Latest*)
*It may take a few days to weeks for Chunky to update to newly released versions, but it is actively maintained for all mentioned platforms.
The basics of pre-generation
Performance
World generation is one of the most intensive tasks on a Minecraft server, especially in recent versions. For that reason we highly recommend pre-generating your world before you open your server to players. This will offload all of the load of generating your world so that it doesn't affect anyone.
This is the biggest step you can take to reducing lag on your server without impacting how your players play the game.
New Content
If you're planning on keeping your world for multiple major game versions, then setting a world border and pre-generating is an ideal way to go. You can expand the border and generate a new area with the new content when a new version releases. This allows you to provide your players with a clearly defined line for where they can find things from the new version and keeps all of the other benefits from pre-generation.
If you plan on doing this, you should start your first border off on the smaller end because the world size will have to grow with each update. That can quickly take a lot of storage space if your aren't careful or don't plan ahead. We have more details on how to pick a storage size later in this article.
Server Stability
Players often have to explore long distances to find a biome, structure, or just a neat place to build. Depending on how many players are doing it and what method transportation they're using, the load from world generation can easily exceed that of any server. By pre-generating your world, you keep the resources required for your players to exist or explore anywhere in the world at far more constant rate, resulting in an increase in server stability.
Limitations/Oddities
The Size of the Nether
Since the Nether is 8 times smaller than the overworld, you do have the ability to make the world border, and thus the actual nether world/file size overall, smaller by 8 times. This will present an easy to understand environment for players but will have a much smaller nether than many are used to.
If you'd like to stick with having a larger Nether, then any nether portals made in the nether that would result in a player being outside of the Overworld world border will be pushed back to the border. This could end up being confusing id your players aren't used to it, so keep that in mind.
Picking a World Size
It's incredibly important to consider what size you want your world to be before you start pre-generating. We're going to cover some of the important points here, but make sure you think it through on your own and talk it through with your team and/or players.
Recommendation
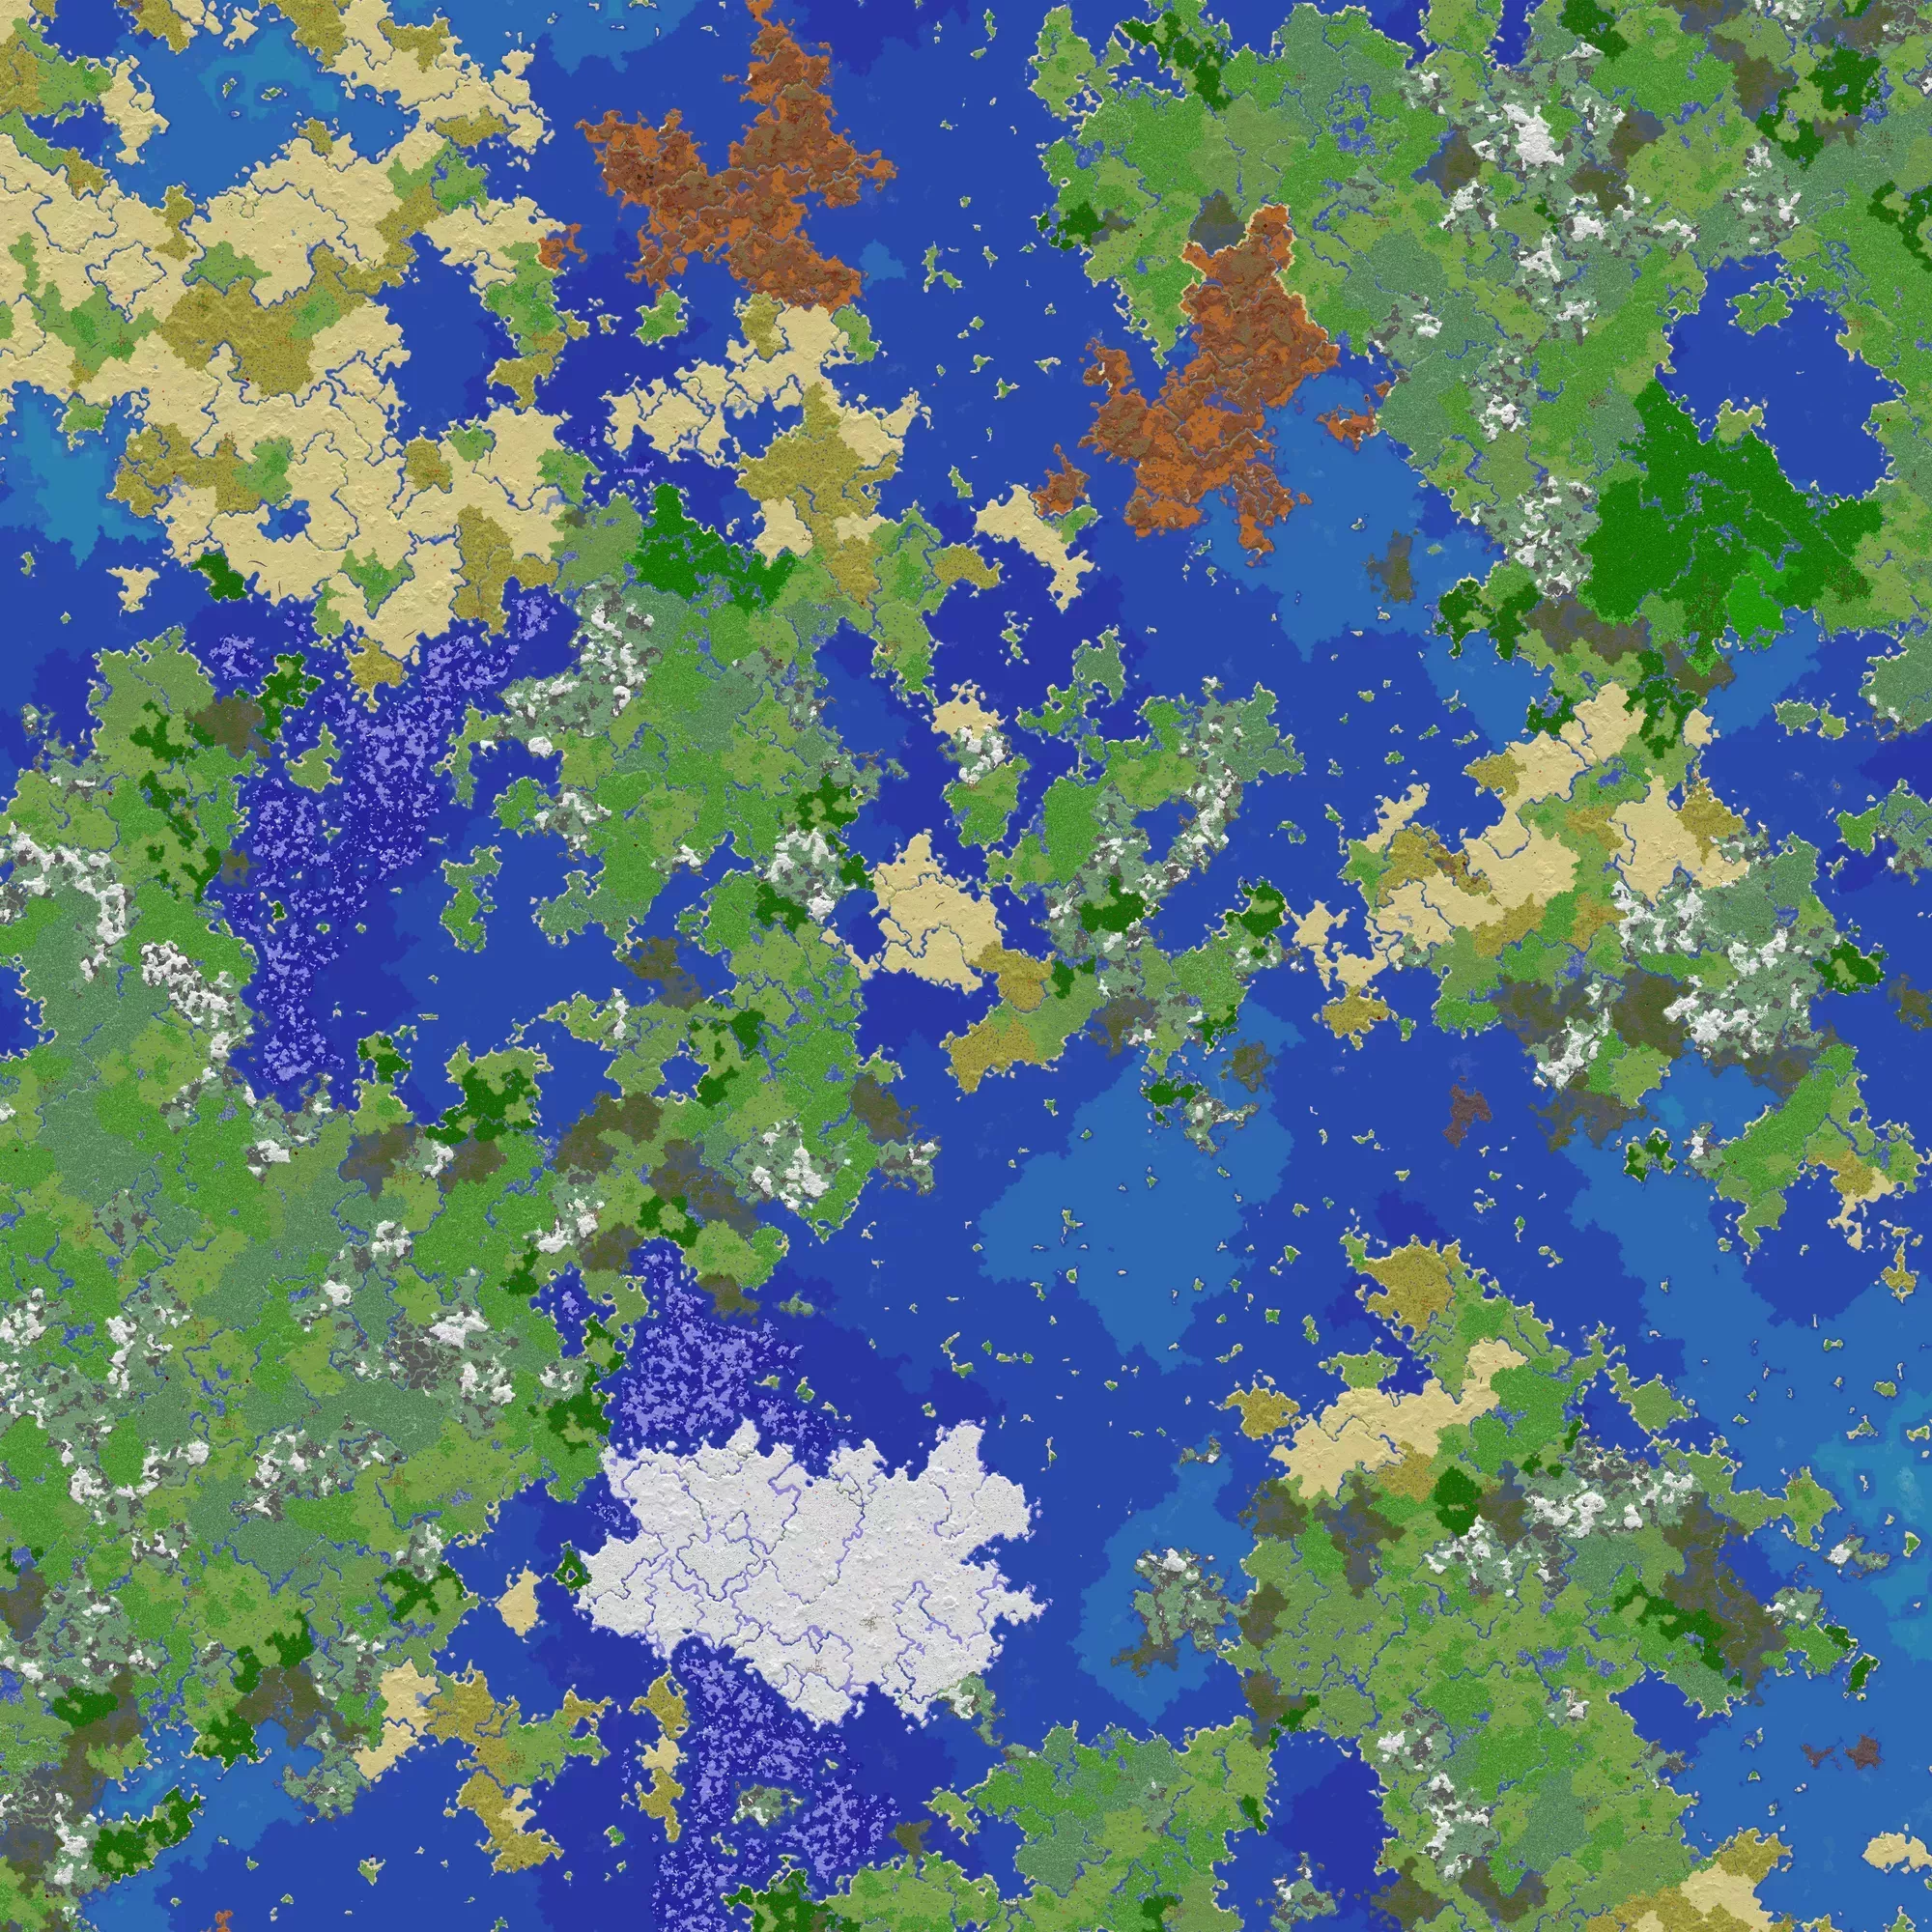
As mentioned above, we recommend starting with a world size of 5k. That's 5,000 blocks in each direction from 0,0. There's an image of a world of that size generated with a random seed to the left to give you an idea of it's size.
Keep in mind that the size of the world can always be expanded at a later date if needed and that when you start off smaller you can keep the world going for more versions.
 Loading...
Going Larger
If you want to have a world larger than 5k, there are a few very important things to remember. While this may seem obvious, the larger you make your world, the longer it will take to generate, and the more file size it will take up. What's important to realize about that though, is that it's almost an exponential growth. You'll find some example values below. Make sure you check out our section going over the basics of pre-generation, it might give you some things to think about before you pick your world size.
| World Size | Estimated File Size | Estimated Generation Time |
|---|---|---|
| 5,000 | 3 GB | 56 Min |
| 10,000 | 9 GB | 3.37 Hours |
| 30,000 | 80 GB | 33.6 Hours |
| 100,000 | 887 GB | 14 Days |
| 500,000 | 221.68 TB | 39 Days |
| 1,000,000 | 886.7 TB | 1,555 Days |
| 29,999,984 | 798021.37 TB | 1,399,998 Days |
Table Details
This table uses data estimated by running multiple tests on varying world sizes using Chunky 1.2.86 on an Intel i7-6700 CPU @ 3.40GHz and 8GB of ram on Paper-280 using all available cores with an average CPS of 102. Depending on your hardware, Generation, plugins, Minecraft version, or Paper version, you might see different times or even file sizes.
This is table is mostly intended to demonstrate the scaling that happens when you increase the world size. We'll update the table if it appears to be out of date, it was last updated for Minecraft 1.17.1 on October 13th, 2021.
Setting your World Border
To prevent players from traveling outside of the pre-generated area, it's essential to set a world border. If you don't set one that matches the size you generated, then pre-generating won't help you very much.
The easiest and most widely supported way of setting a world border is by using the Vanilla worldborder command. Chunky will also let you use the Vanilla world border as it's generation method, so it's what we'll use.
Run these commands from your console only! While they might work as an operator or OP, no in-game player should be able to run these commands for stability and security reasons!
Since you can set the Vanilla world border separately for each dimension, we'll be using the execute in <world> run <command> command. This will allow us to run the world border command specifically in the dimension we want. Use the table to the right for the default world names.
We recommend pre-generating all of your dimensions!
Dimension Name | <world> value
Overworld      | overworld
Nether         | the_nether
End            | the_end
Vales of <world> for the Default Minecraft dimensions
Get your heading
The world border command only has a few ways it can be used and subsequently only a few ways to break it, but it's important to know what the border is before we start adjusting it. So start by running
execute in <world> worldborder get. The default should should match the output shown on the right by telling you the world border is 59999968 in diameter or 29999984 in radius.
If it shows a different number, that means you've set the world border in the past, so double check your work.
execute in <world> run worldborder get
[HH:MM:SS INFO]: The world border is currently 59999968 blocks wide
Now that you know how to check the size of your world border is, and what the current size is, you'll need to change it to what you want it to be. The Vanilla world border command takes numbers as a diameter but we generally think of the size of a world as a radius. For example, a world that reaches from -10 to +10 would be a 10 block world by the measurements we've used elsewhere in this article, but you would need to set a 20 block world border to cover that world. It's a bit of a headache, but if you can understand the difference between a radius and a diameter in the context of measuring circles, it's that but we're measuring from the center of a square.
We're going to use our recommended world size of 5k as an example, so for that size we'd use the command execute in <world> worldborder set 10000. Then run the get command outlined in the last step to make sure that it was set correctly.
Set the border center
If your world isn't centered on 0,0 then you change where your border is centered to match! Just run the command execute in <world> worldborder center <X> <Y> with X and Y being the coordinates of where you want the world to be centered around.
Starting the pre-gen
Downloading
Chunky offers dedicated versions for the 3 major modding platforms, Fabric, Spigot, and Forge. So just pick the version that matches the Mod Loader you're using and the Game Version you're using.
*It may take a few days to weeks for Chunky to update to newly released versions, but it is actively maintained for all mentioned platforms.
Using the Vanilla World Border (recommended)
Run these commands from your console only! While they might work as an operator or OP, no in-game player should be able to run these commands for stability and security reasons!
Making your selection
After setting your world border using the commands from the last section, you can use the world border to tell chunky where to generate. In order to let chunky know that's what you want, you need to select the world that you want to generate by running chunky world<world>. This will tell chunky what world you want to generate and will use the world border that you have defined for that world.
After you've selecting the world you want to generate, you need to run the command chunky worldboder. That will actually let chunky know that you want to use the world border instead of manually selecting the shape.
You'll get a response that contains the radius of the chunky selection and it's center. Make sure that these values match what you've set as your world border *before you move on. *Of course keeping in mind that you set your world border as a diameter so this value should be half of what you set as your world border.
Starting the generation
After you've made your generation selection and checked that the selection and center point are correct, you can run chunky start<world>. This will warn you about the center location and selection size again, so this is a good time to triple check that it's correct. It's impossible to stress how important it is to make sure that those values are what you want them to be, so make sure they are!
If you've started the incorrect generation or if you just need to stop the generation, you can run chunky cancel<world>. That will completely cancel the current generation task. If you need to temporarily cancel it, check out the Utility commands section.
Chunky will be spending awhile looping through all of the chunks within your selection and generating them in a similar way to how a player would. During that time, you shouldn't have any players online as Chunky will try and use all of the servers resources to generate the chunks you want.
If you're getting too many updates in your console, or just want to see what else Chunky can do, check out the final section we have on Utility commands!
Using Chunky Only
If you don't want to use the Vanilla world border or you're using another world border plugin, then you'll likely need to set the chunky selection by hand. This process is relatively simple and might offer you more control over the outcome than you had with the vanilla world border.
Run these commands from your console only! While they might work as an operator or OP, no in-game player should be able to run these commands for stability and security reasons!
Just like with the vanilla world border, you need to select the world you're working with by running chunky world<world>. You can then select the radius/center you want chunky to generate. To select the center use the chunky center[<x> <z>] command where X and Z are the appropriate coordinates.
The radius command provided by Chunky has more control then the vanilla world border command does. When working with a rectangle you can either use one number as a radius and get a square or two numbers and get a rectangle with two different length sides. Using our recommended 5k world size as an example, we would have these commands if we had one square 5k world and a rectangle world with 5k in one direction side and 10k on the other.
chunky radius 5k
chunky radius 5k 10k
Note that you can use operators to change how the number operates. The operators and their function are listed to the right, but in the example above we were able to add k to the number to denote it as a thousand.
c the number now represents chunks instead of blocks
+/- Adds or subtracts from the current radius
k the number now represents 1000 blocks instead of 1 block
Common Issues
Out of Memory
As mentioned earlier, world generation is a very intensive task, so you may run out of memory while Chunky is pre-generating. There are a few things you can do reduce the chances of this happening or mitigate it's effects.
- Close the server to players.
- Remove any plugins that aren't needed by added a
.disabledto the end of the file name. - Make sure Aikar's flags is added to your server by checking out your
 Startup Parameters.
 - Using a frequent restart schedule.
You can use a frequent
restart schedule, every 10-30 minutes, to preempt crashes and clear your server's memory. Making sure to tell Chunky to continue on restart by setting the continue-on-restartoption in the Chunky config file file to true.
Out of Disk Space
As the world gets bigger, you may run out of disk space. By default we provide 10GB of storage for every GB of ram that you have with your plan. But if you need more just open up a ticket in our Discord and we'll be more than happy to increase your storage!
Utility Commands
Pause/Continue
If you need to pause your generation task for any reason, run chunky pause <world> to pause the task in that world. Then to continue that task run chunky continue <world>.
Silent
If you don't want to get any updates about the current generation tasks, you can run chunky silent to toggle the message output.
Quiet
If the status messages are too frequent for you then you can run chunky quiet <frequency> to change the frequency in seconds. By default it prints a status message every second and can go as low as printing a message for every chunk that is generated if you set the frequency to 0.
Chunky has a ton of other neat features that were out of scope for this article ranging from non-rectangular shapes to world trimming. If you're interested in what else in can do check out their wiki page!