Minecraft is a sandbox game focused largely on player directed goals, with no required goals or progression system it's up to the player to decide what they enjoy.
Getting Started with your Minecraft Server
Basic Administration
Vanilla Minecraft provides a few basic administration commands to manage players access to your server. These can be as warning systems or as a way to remove troublesome players from your community. You'll need to provide the player's username for each of the following commands in the spot marked <player>.
The command /kick <player> will kick the player from the server.
The command /ban <player> will ban the player from the server. They won't be able to join unless you un-ban them.
You can un-ban a player with command /pardon <player>.
You can also ban a player's IP, which means the player won't be able to join even if he tries to enter with another account on the same network. The command for that is /ban-ip <player> and to un-ban a player's IP, /pardon-ip <player>.
Whitelist
With a whitelist, you can specify players you want to allow to join the servers while others that are not whitelist cannot join.
To enable the whitelist, once the server is online, use the command /whitelist on.
To add someone to the whitelist use the command /whitelist add <player> and replace <player> with the player's in-game name you wish to add.
To remove someone from the whitelist use the command /whitelist remove <player>.
And finally, to disable the whitelist, use the command /whitelist off.
How to OP
To grant a player access to commands and operator status, use the command /op <player> and replace <player> with the player's in-game name you want to op.
To remove the operator status from a player, use the command /deop <player>.
Spigot based servers discourage the use of OP because it provides access to commands that may not be safe to run from a player context. It's better to use a permissions plugin like LuckPerms to grant the permissions your staff need than to grant them operator status. We have an article about ![]() Installing LuckPerms.
Installing LuckPerms.
GameMode
To change someone's gamemode, use the command /gamemode <gamemode> <player>, replace <gamemode> with the gamemode you desire, survival, creative, adventure or spectator and replace <player> with player's in-game name.
Importing a World
If you're importing a world that is Vanilla or Spigot based, but are not using it on the same server type, make sure to check out our guide on ![]() converting worlds!
converting worlds!
It's possible to import a world into the server in multiple ways. If you already have a world in File Management, rename it or delete it to import the new one and make sure the server is not running.
Importing World using File Management
If you're importing a world that is Vanilla or Spigot based, but are not using it on the same server type, make sure to check out our guide on ![]() converting worlds!
converting worlds!
One way is by compressing the world to a zip file and uploading it through:
The world should be less than 100MB, otherwise, you should use ![]() SFTP to upload your world.
SFTP to upload your world.
- Go to the
Management > File Managementtab, this is where you can see server files and folders. - Find your world folder and compress it to a
.zipfile. You can use programs such as WinRAR or 7-zip to compress the folder or on Windowsright click → Send to → Compressed (zipped) folder, on Macright click → Compress "Folder". - Drag and drop the zip file into the file area in Game Control Panel.
- Once the file is uploaded, use the 3 dots next to it and press
Decompressto decompress the zip file. - Now you no longer need the zip file you uploaded, so you can safely delete it, use the 3 dots next to it and press
Delete.
If you also have folders named world_nether and world_the_end then you should upload them as well.
Uploading your World using SFTP
If you're importing a world that is Vanilla or Spigot based, but are not using it on the same server type, make sure to check out our guide on ![]() converting worlds!
converting worlds!
You can manage files using FTP/SFTP, to set it up, check out this guide on ![]() Using SFTP.
Using SFTP.
With SFTP you don't need to compress the world folder, simply drag and drop it in the server's directory.
Adding Plugins
To be able to add plugins to your server, you will need to use Spigot, CraftBukkit, Paper, or any other version that supports plugins.
You can install Spigot or any of it's forks using ![]() The Edition Installer on the Game Control Panel or by manually uploading the jar file and setting the
The Edition Installer on the Game Control Panel or by manually uploading the jar file and setting the ![]() Server Jar File Startup Parameter to the name of the jar file.
Server Jar File Startup Parameter to the name of the jar file.
To install a plugin, simply drag and drop the .jar plugin file into the plugins folder (which is generated by the server upon start if it supports plugins) in the File Management and restart the server.
If you're moving from a vanilla server to a Spigot one, you won't have to reset your world. Moving from Forge/Fabric to Vanilla or Spigot can be tricky, or even impossible, because Forge/Fabric mods often alter the save itself in order to include custom blocks, items, and mobs.
Recommended Spigot Plugins
You’ll find that the plugins in the list below are generally helpful regardless of your server’s type. There is of course no requirement to install them, but it’s highly recommended that you install and configure them on your server while also understanding what they do and how to use them.
- CoreProtect is a plugin that allows you to recover damaged blocks and record data for
anti-grief.
 Installing CoreProtect
 - DriveBackupV2 is a plugin that provides backing server data remotely.
Installing DriveBackupV2
- LuckPerms is the go-to permissions plugin for the majority of servers and can help
keep your server secure by keeping the permissions to use plugins limited to specificplayers. Installing
- BungeeGuard is an intra-network authorization plugin that prevents players from logging
into your backend servers if they didn't join through your BungeeCord proxy. Installing BungeeGuard
Adding datapacks
To add a datapack into your server, you need to upload the datapack you want by going to the Management > File Management tab and open the world folder. In that folder, you will find a folder called datapacks, open it, and here you will upload datapacks by drag-and-drop or using the Upload button on the left side.
Some datapacks, such as ones from VanillaTweaks, .zip files might have "unzip me" in their name. This is a note from the creator that you need to unzip the file before using it in the world.
You can do it by uploading it to the world folder like normally you would do for a datapack and then use the 3 dots next to the file to access the menu and use the Decompress button. This will unzip the file and multiple .zip files may appear. After that, you no longer need the file you unzipped from and you can safely delete it from the same 3 dots menu.
Dedicated vs Shared IP
A Minecraft dedicated IP means that you will be able to connect to the server on the standard port 25565 which doesn't require you to insert the additional port (123.45.67.891:25565) when connecting, while Shared IP will require to put the additional port at end of the IP when connecting.
A dedicated IP does not provide you a domain! You must purchase one from a provider such as Porkbun.
Connecting your Domain
Setting up your domain will allow you to change your IP address to a custom domain, for example, mc.example.com or play.example.com.
First, you need to go to your domain's DNS management. We will use Cloudflare for that.
WinterNode offers a free domain (**example.**playwn.co) for use! You can ask them to set it up by opening a ticket, providing your server UUID and subdomain name you want it to be. You can open a ticket in our ![]() Discord server or via
Discord server or via ![]() Client Area.
Client Area.
We first need to create type A record.
Press Add Record and set the following credentials:
- Type:
A - Name: Set this to the subdomain you want to use (
play,mc). If you are using Shared IP (if it requires a port) then set the subdomain to something else because we will need to use it in SRV Record. - IPv4 address: Set this to you IP Address without the port.
- TTL:
Auto - Proxy status (if available):
DNS Only
Your A record should look something like this:
 Loading...
If you have a dedicated IP, you should be all set and able to connect to your domain using the subdomain you provided as the name of the A record (in our example, play.example.com).
Setting up a SRV Record
The next step is to create an SRV record to be able to set up the port, this is not required if you have a Dedicated IP.
It appears Namecheap's SRV system does not allow the ability to specify your own host. Therefore an SRV record for mc.example.com won't work, but will work fine under example.com. The only workaround for this would be to change DNS Management provider. We recommend Cloudflare.
Press Add Record and set the following credentials:
- Name: Put the name of the subdomain you want to use into this string
_minecraft._tcp.<domain>where<domain>is the subdomain you want to use. If you want to be able to connect toplay.example.com, use_minecraft._tcp.play, if you want to connect toexample.com(your root domain), use_minecraft._tcp.@. - Priority:
0 - Weight:
0 - TTL:
Auto - Port: Set this to your IP address's port.
- Target: Set this to the subdomain you set in A record earlier (in our example, we've set it to
play, the domain isexample.com. So we will useplay.example.com).
Your SRV record should look something like this:
 Loading...
After that, you are all set! You should be able to connect to your server using the subdomain you set in the SRV record and your domain (in our example,
Loading...
After that, you are all set! You should be able to connect to your server using the subdomain you set in the SRV record and your domain (in our example, play.example.com).
Startup Parameters
When managing your server there are a group of settings that affect how it functions on startup. You won't need to change these very often, but it's important to understand what they do so that you'll know when you need to change them.
Startup Command
 Loading...
If you’d like to edit the startup command, check out the JVM Flags pane, which we have a section about below.
The Startup Command section is dedicated to the command that is executed when your server starts. The bulk of this command contains the parameters that control what Java will do under specific circumstances. By default it contains the amount of memory that the Server will use when running and the jar file that is executed when the server starts.
-Xms128M
The initial ram allocation pool used for the Minecraft Server instance. While Aikar’s recommends setting this value to the same as the Xmx value, we’ve found that starting with a low value, and letting the pool increase as it’s needed, works best on our panel.
XX:MaxRAMPercentage=##
The value passed in by the Max Ram Percentage field. You can modify this by adjusting that slider. For more information, check out the section in this article dedicated to the Max Ram Percentage pane.
server.jar
If you need to change the name of the Jar file then check out the next section on the Server Jar File section. As per our ![]() Usage Policy this jar file should only be a software that is related to the service that your server is setup to support.
As a general rule our Minecraft Servers support the software's listed on our
Usage Policy this jar file should only be a software that is related to the service that your server is setup to support.
As a general rule our Minecraft Servers support the software's listed on our ![]() Server Versions section of this page.
Server Versions section of this page.
If you aren't sure if the software you want to use is allowed within our ![]() Usage Policy, please reach out to us and ask!
Usage Policy, please reach out to us and ask!
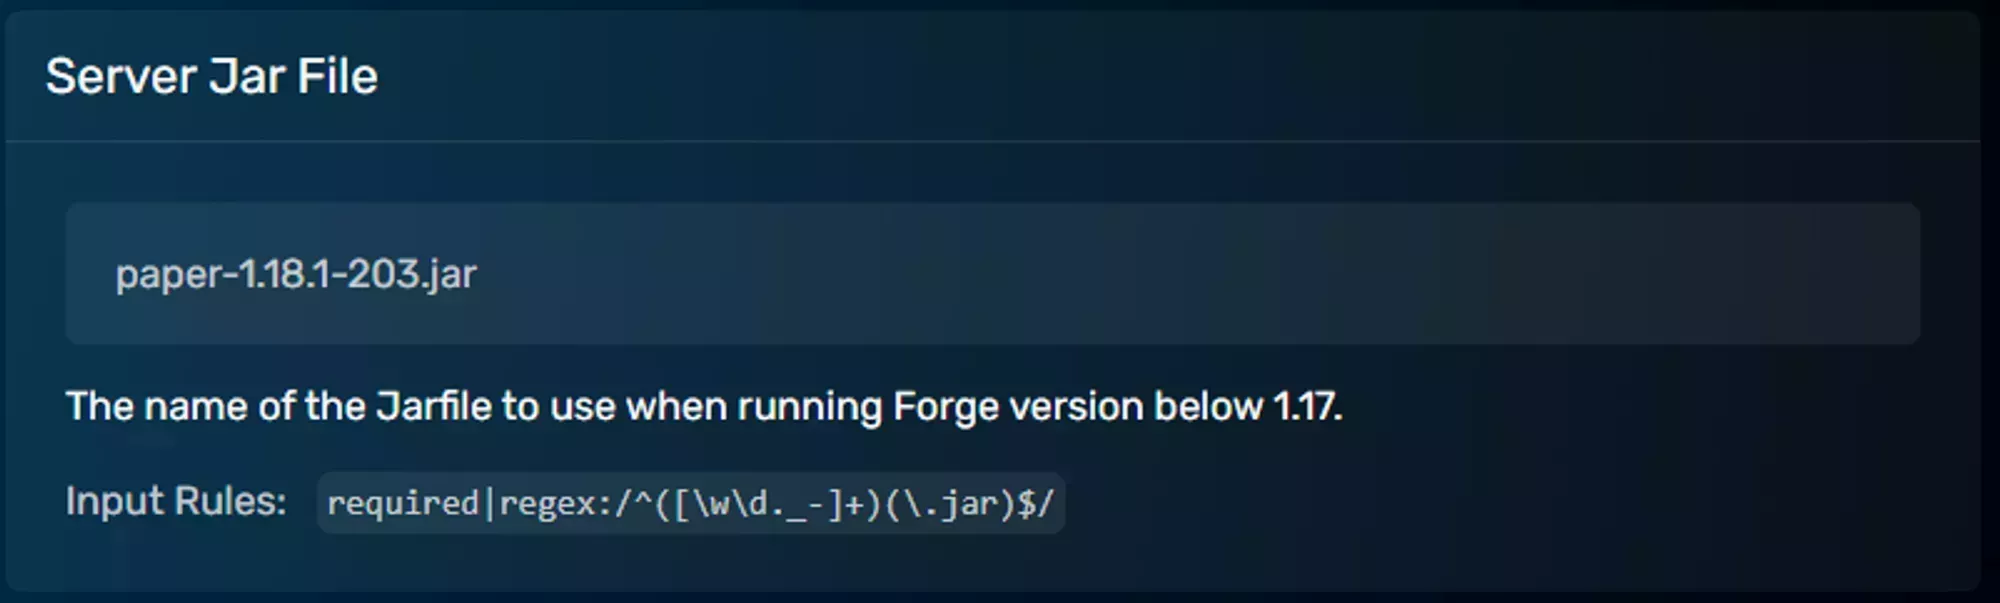
Server Jar File
This is simply the Case Sensitive name of the Jar file you want to execute for your server.
You can either rename the jar file you upload to server.jar or update this value to match the file you upload.
 Loading...
Please ensure that your jar file conforms to our ![]() Usage Policy! If you aren't sure if it does, please reach out to us and ask!
Usage Policy! If you aren't sure if it does, please reach out to us and ask!
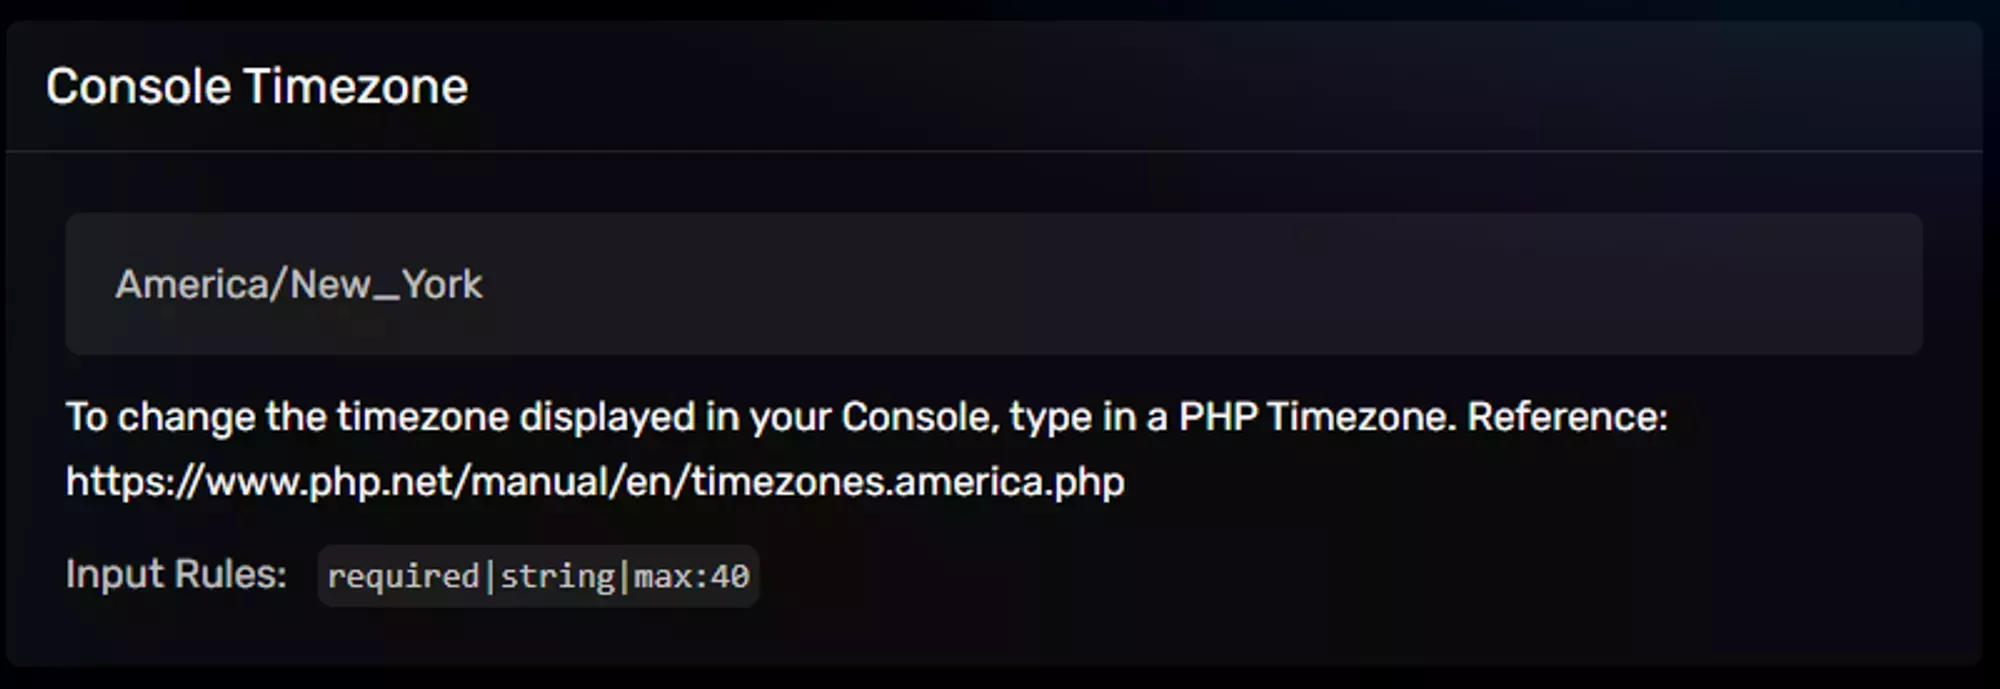
Console Timezone
When your console generates a log it has access to a time that can be printed for reference. Not all games/services do this, but if you want your console log to match up to a specific time then you can change the value here.
 Loading...
The value must be in PHP format. To find your time zone in the PHP format go to the PHP supported time zones page and navigate to the area that's included in your desired time zone.
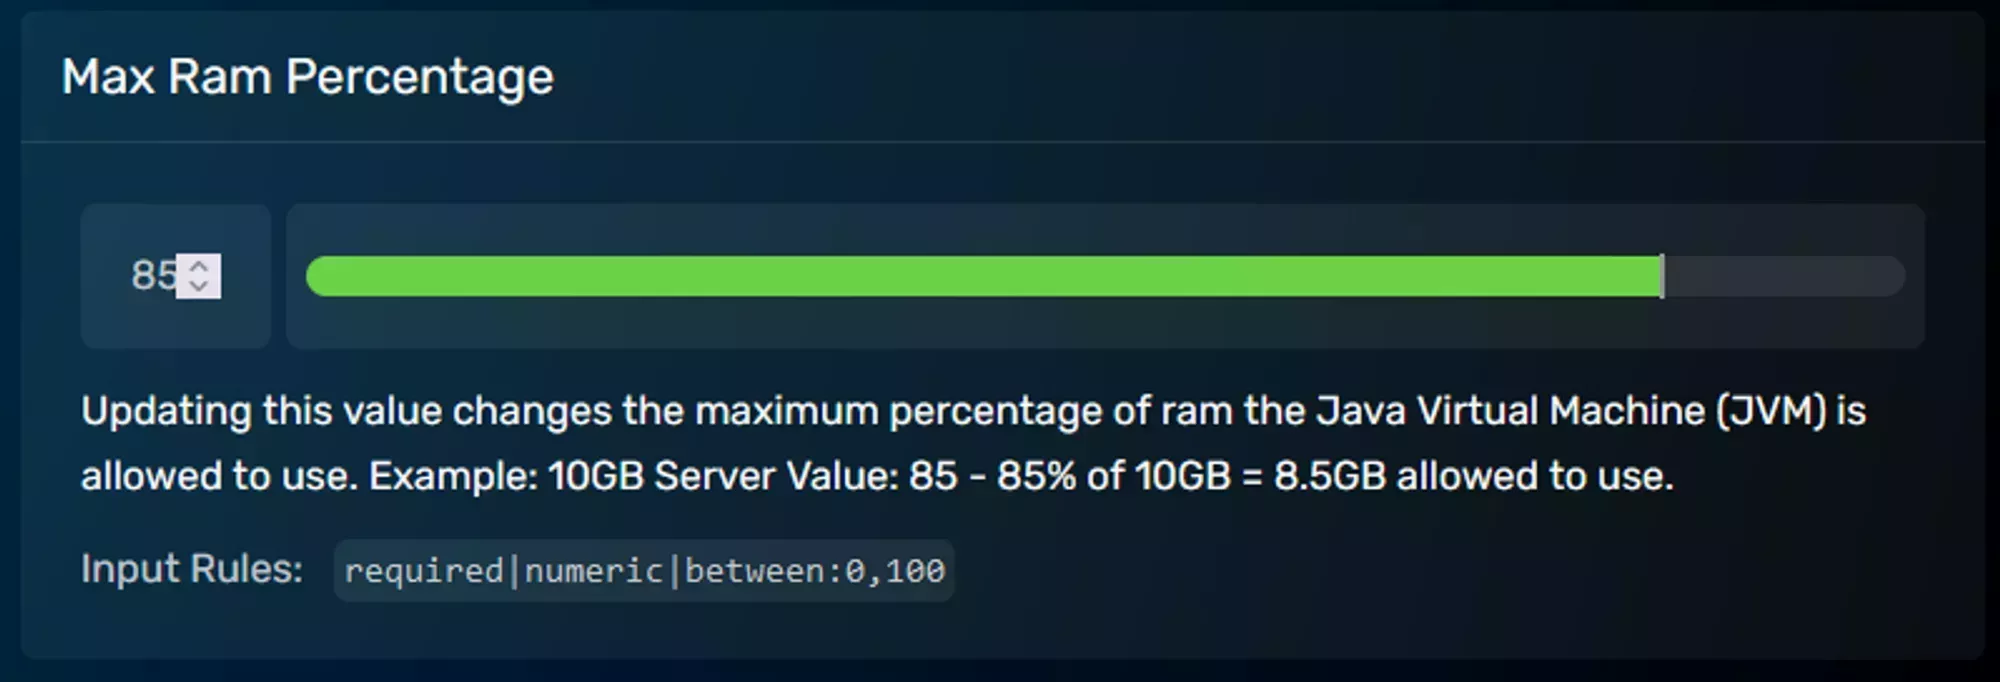
Max Ram Percentage
The Java Virtual Machine, or JVM, requires some amount of “overhead” in order to function properly, and we’ve found that this amount varies depending on the version and flavor of Minecraft your server is running. The Max Ram Percentage value located in the Startup Parameters section of your servers Configuration tab modifies how much ram is given to Minecraft and how much is left “free” for the JVM.
For more details on why Minecraft requires overhead, what overhead is, and why it changes with different version of Minecraft, check out or article about ![]() Aikar’s Flags.
Aikar’s Flags.
 Loading...
JVM Flags
The JVM Flags field allows you to add your own flags to your server, and by extension fine tune it’s behavior using flags that are either inherited from the JVM itself, or have been added by Minecraft or the developers of the flavor of Minecraft you’re using.
One of the most common JVM Flag sets to use is Aikars, which is set up by default on all of our 8gb+ packages but can be set up manually by adding the flags to the JVM Flags field. We also have a dedicated article that explains what Aikars is and what WinterNode's policy is on it ![]() here Another common flag is the
here Another common flag is the -Dpaper.useLegacyPluginLoading=true flag to enable the Legacy Plugin loader for Paper servers.
Regardless of the flags you need or the flavor of Minecraft you’re using, you can add your flags into the JVM Flags field and they’ll be updated in your startup command. Your flags will be added after the existing RAM flags and before the existing timezone flag, but the location of flags doesn’t make a difference on how they’re executed.
Make sure that any startup flags you add or software you use adheres to our ![]() Usage Policy. If you’re unsure, feel free to reach out and ask before making any changes!
Usage Policy. If you’re unsure, feel free to reach out and ask before making any changes!
server.properties file
server.properties is a settings file generated by the Minecraft server and it is located at the home container. It contains configurable options for the server. The server requires a restart to apply the changes in the file. Most commonly used options:
-
spawn-protection- Restricts players from interacting with the spawn area. Amount of blocks (calculated 2x+1) protected from being broken by players in the spawn area. Set it to0to disable it. Example:1- Protects 3x3 blocks from spawn,5- Protects 11x11 blocks from spawn. Default:16 -
allow-nether- Whenever or not the Nether should exist. If set to true, it will allow players to transfer to the Nether dimension, if false the Nether will not be loaded. Default:true -
gamemode- Default gamemode for new players. Acceptssurvival,creative,spectatorandadventure. Default:survival -
player-idle-timeout- Kicks players for being AFK for specified minutes. After a player has idled for this many minutes they get kicked. Default:30 -
difficulty- Game difficulty. Acceptspeaceful,easy,normalandhard. Default:easy -
pvp- Whenever or not PvP should be enabled. Enable PvP on the server. Players shooting themselves with arrows receive damage only if PvP is enabled. Default:true -
level-type- Type of world generation. AcceptsDEFAULT,FLATandLEGACY. Default:DEFAULT -
hardcore- Whenever or not hardcore should be enabled. If set to true, server difficulty is ignored and set to hard, and players are set to spectator mode if they die. Default:false -
enable-command-block- Whenever or not command blocks should be enabled. It is recommended to set totruefor custom maps. Default:false -
max-players- The maximum number of players allowed on the server. Default:20 -
level-name- World folder name. The value set here will be used for the world folder. Example:funWorld- it will use folderfunWorldas world folder instead of the usualworld. Default:world -
view-distance- The maximum allowed view distance in a number of chunks. Default:10 -
resource-packOptional URI to a resource pack. The player may choose to use it. Setting the URI to a resource pack asks players joining the world to download the resource pack and have it loaded until they leave. Default: Not set by default -
resource-pack-sha1Optional SHA-1 digest of the resource pack. It's recommended to specify this if you are using a resource pack. You can use any method you like to generate the SHA-1 digest, like sha1-online.com, just type the name of the resource pack file name and clickhashto get the value to set it. If you later update the resource pack, generate a new digest and updateserver.propertiesfile, a test will be made to compare the player's resource pack digest to see if it needs to be re-downloaded. -
white-list- Whenever or not whitelist should be enabled. Default:false -
level-seed- World Seed. The seed for randomizing the world, leaving it blank will choose randomly. Default: Not set by default -
motd- Server MOTD (Message of the Day).Sets the server's message on the multiplayer screen. You can use a MOTD creator to generate a message for the server.
Default: Not set by default
Related Articles
📄️ Enabling Experimental Features
What Experimental Features are and how to enable them on your Minecraft Bedrock Server.
📄️ How to Add a Server Icon
How to change your Minecraft Server's Icon.
🗃️ Minecraft Editions
4 items
🗃️ Minecraft Security
2 items
🗃️ Modpack Installation
4 items
🗃️ Plugins
10 items
📄️ Requesting Additional Ports
How to request additional network ports for your WinterNode Game Server.
📄️ Resource Packs
What Server Resource Packs are and how to manage them for your Minecraft Server.
🗃️ Server Optimization
3 items
📄️ Spigot & Vanilla World Formats
The difference between Spigot and Vanilla Minecraft World Formats and the process of converting them between each format.
📄️ Using the Edition Installer
Using the WinterNode Game Panel Edition Installer to install or update different Editions of Minecraft Servers.
📄️ World Management
How to manage the data contained within your Minecraft World.